
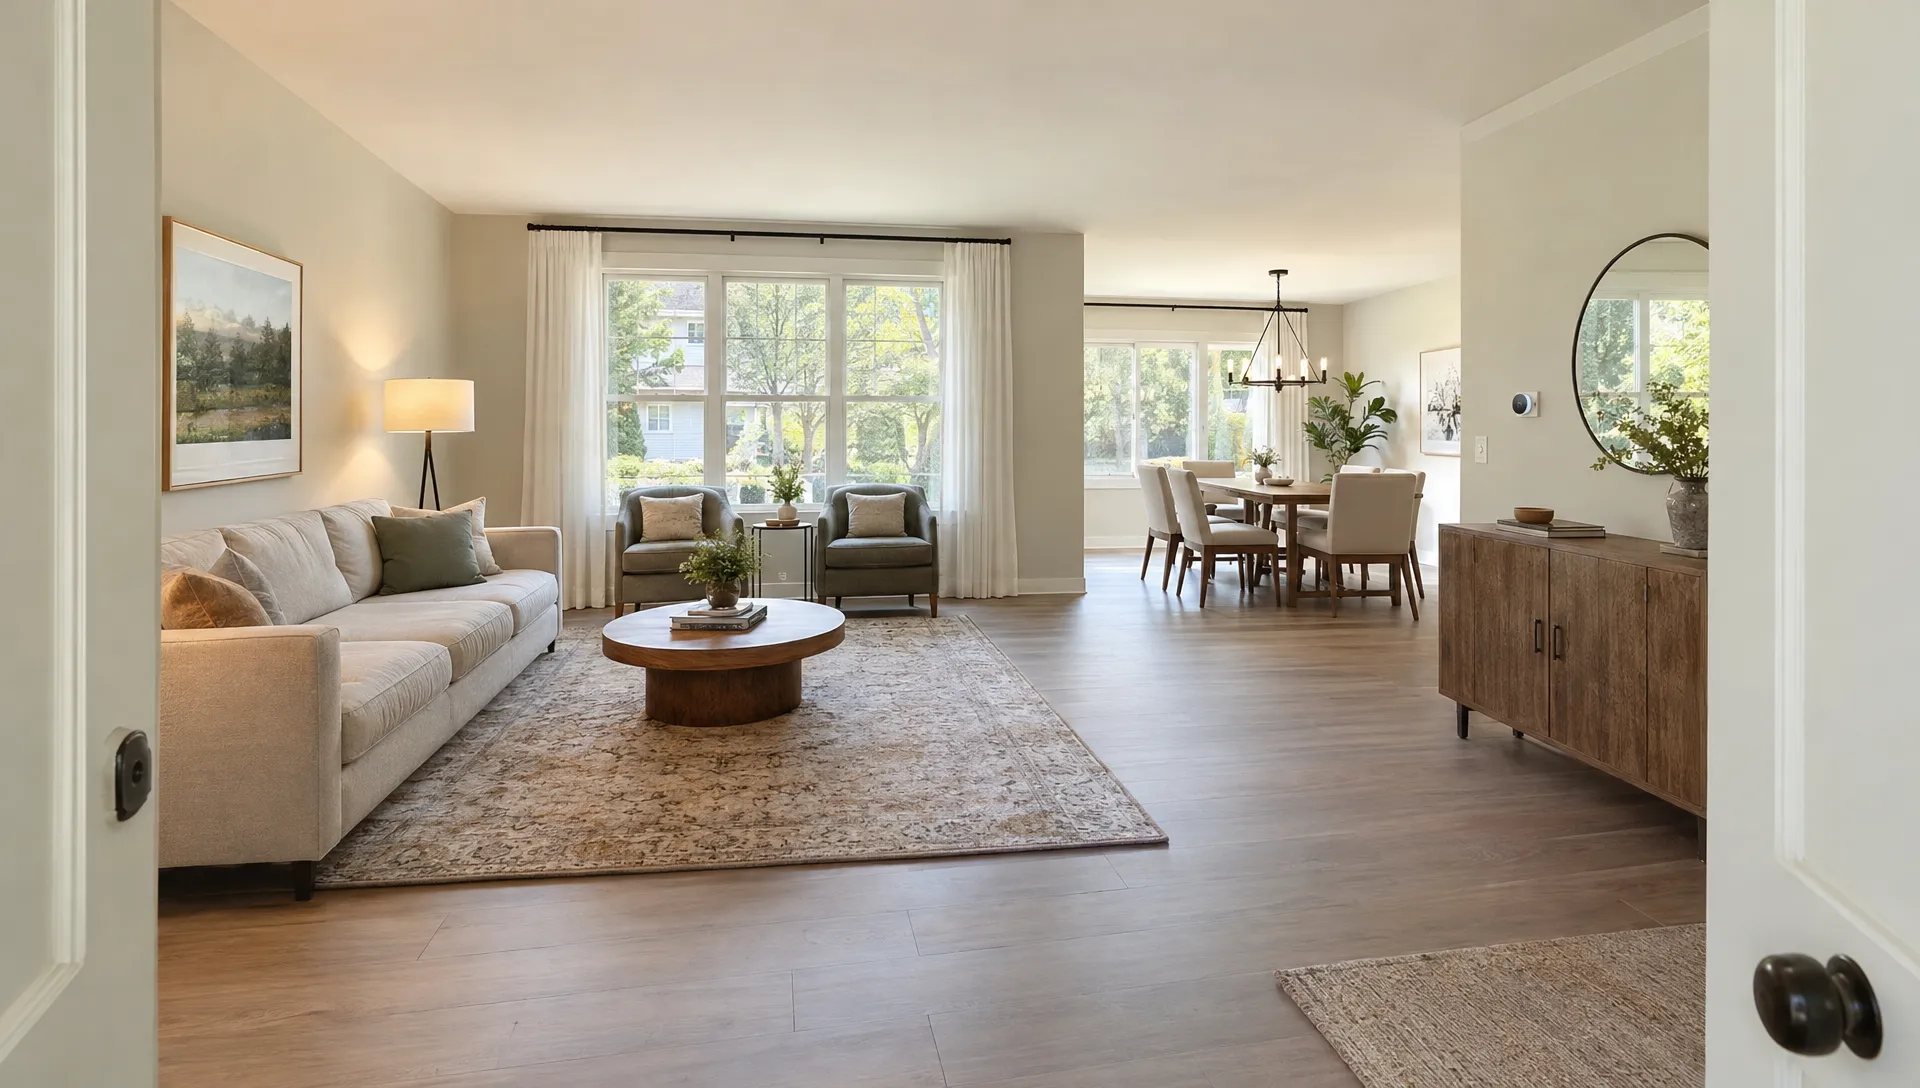
How to Take Real Estate Photos With an iPhone
Learning how to take real estate photos with iPhone starts with preparation, light and camera position, not a newer handset. A clean lens and a level phone can do more for a listing than heavy editing afterward.
Your goal is to help buyers understand the property accurately. That means showing room connections, keeping walls straight and preserving a realistic sense of space. An iPhone can produce useful listing photos in good conditions, but dark interiors and bright window views can expose its limits.
Prepare the property before opening the camera
Walk through the entire home first. Open curtains, raise blinds consistently and clear anything that distracts from the space. Remove personal documents, family photographs, visible passwords and valuables before photographing.
Prioritize surfaces and sightlines. Clear kitchen worktops, straighten bedding, close toilet lids and move bins out of view. Clean mirrors and windows because fingerprints and streaks become obvious in bright light.
Keep styling restrained. If the owner has a tea station with an appliance such as the Air Tea Kettle, contain it in one corner so buyers can still judge the usable worktop. Avoid adding props that obscure fittings or make a small surface look crowded.
Check every doorway from the position where you expect to shoot. A chair that looks tidy in person may block the route between two rooms in a photograph. Move loose furniture where appropriate, but do not conceal damage or permanent obstructions.
How to take real estate photos with iPhone: camera setup
Clean the rear camera lenses with a soft microfiber cloth. Then use the rear camera in ordinary Photo mode, rather than Portrait mode, which can blur details buyers need to see.
These are practical starting points, not settings that apply identically to every model:
| Setting or tool | Starting choice | Reason |
|---|---|---|
| Aspect ratio | 4:3 for master photos | Preserves more image area for later cropping |
| Lens | 1× main camera | A useful default with less exaggerated perspective than ultra-wide views |
| Flash | Off | Direct phone flash can create glare and uneven lighting |
| Grid and level | Enable where available | Helps align walls, doorframes and the horizon |
| Filters | None | Keeps finishes and colors easier to assess |
| Timer | Use with a stable support | Reduces movement from pressing the shutter |
Camera controls vary by model and software version. Check the camera section of Apple’s iPhone User Guide if an option is missing.
Do not assume the highest megapixel setting always produces the best result. High-resolution modes need suitable light and steady handling. Standard Photo mode is a sensible starting point, especially when you need a consistent gallery rather than one exceptionally large file.
A tripod with a secure phone clamp is the most useful optional accessory. Without one, hold the phone with both hands and brace your elbows against your body.
Balance room light and bright windows
The hardest part of learning how to take real estate photos with iPhone is often capturing a bright window and a darker room together. The phone may preserve one while losing detail in the other.
Schedule interiors around useful daylight. Direct sun can create harsh patches across floors and furniture, while softer light is usually easier to manage. Check the property beforehand if the main rooms face different directions.
Start with daylight and assess the result. Switch interior lights on if they improve visibility, but watch for orange ceiling lights mixing with blue daylight. Use a consistent approach across connected rooms rather than changing the lighting halfway through the gallery.
A practical window-exposure test
Compose the photograph, then touch and hold the screen on a representative midtone area until AE/AF Lock appears. Adjust brightness using the exposure control beside the focus box. Take a test image and inspect both the room and the window.
If the window is completely white, reduce exposure slightly. If that makes the room too dark, change your shooting time or camera position. Automatic HDR can help on supported models, but it cannot resolve every contrast difference.
Take a second, darker reference image when the view matters. Do not assume two exposures will merge automatically. A convincing blend requires suitable capture and editing, and it must retain the real view.
If neither the interior nor the view can be shown clearly, professional lighting or exposure blending may be the better option.
Keep walls straight and room sizes believable
When practicing how to take real estate photos with iPhone, pay attention to the phone’s angle before changing lenses. Tilting upward makes vertical lines converge. Tilting downward changes their appearance in the opposite direction.
Start around 1.2 to 1.5 meters, approximately 4 to 5 feet, above the floor. This is a starting range, not a rule. Adjust for furniture and room layout while keeping the phone upright rather than angling it toward the ceiling or floor.
Use the grid to check doorframes near the center and edges. In kitchens, watch the relationship between the worktop and wall cabinets. In bedrooms, avoid shooting so low that the bed hides most of the floor.
Use the ultra-wide lens sparingly
The 0.5× camera, where available, can help in a compact bathroom. It can also stretch objects near the edges and make distances appear larger.
Try stepping back safely and using 1× first. If you need the ultra-wide camera, keep important fixtures away from the edges and compare the image with the actual room. A bath should not look unusually long or a small bedroom unusually expansive.
Do not crop away every doorway. One useful doorway or adjoining space can explain the layout better than a perfectly isolated room. Avoid shooting through several rooms if the foreground becomes a distorted frame around the property.
Follow a room-by-room shooting plan
A repeatable sequence makes it easier to apply what you have learned about how to take real estate photos with iPhone without missing essential spaces. Capture coverage first, then add details.
For each principal room, begin with one clear overview. Add a second angle only if it explains something new, such as access to a terrace, built-in storage or the connection to a dining area. Several nearly identical corner shots add little value.
In kitchens, show the working layout and major fixed fittings. In bathrooms, check mirrors for your reflection and keep the phone level. For bedrooms, include enough floor and wall context to help buyers assess furniture placement.
Take most listing photographs horizontally unless your destination requires another format. Capture separate vertical compositions for social media rather than relying on severe crops later. Leave some room around important features, but do not fill half the image with ceiling.
Photograph the exterior deliberately
Choose a position that explains the entrance, building and relevant outdoor space. Keep the horizon level and check whether parked vehicles or bins obscure important features.
Take a straight-on view where practical, then a second angle if it clarifies depth or access. Work from safe, permitted locations and avoid including identifiable neighbors unnecessarily. Photograph shared amenities only when the listing can legitimately represent access to them.
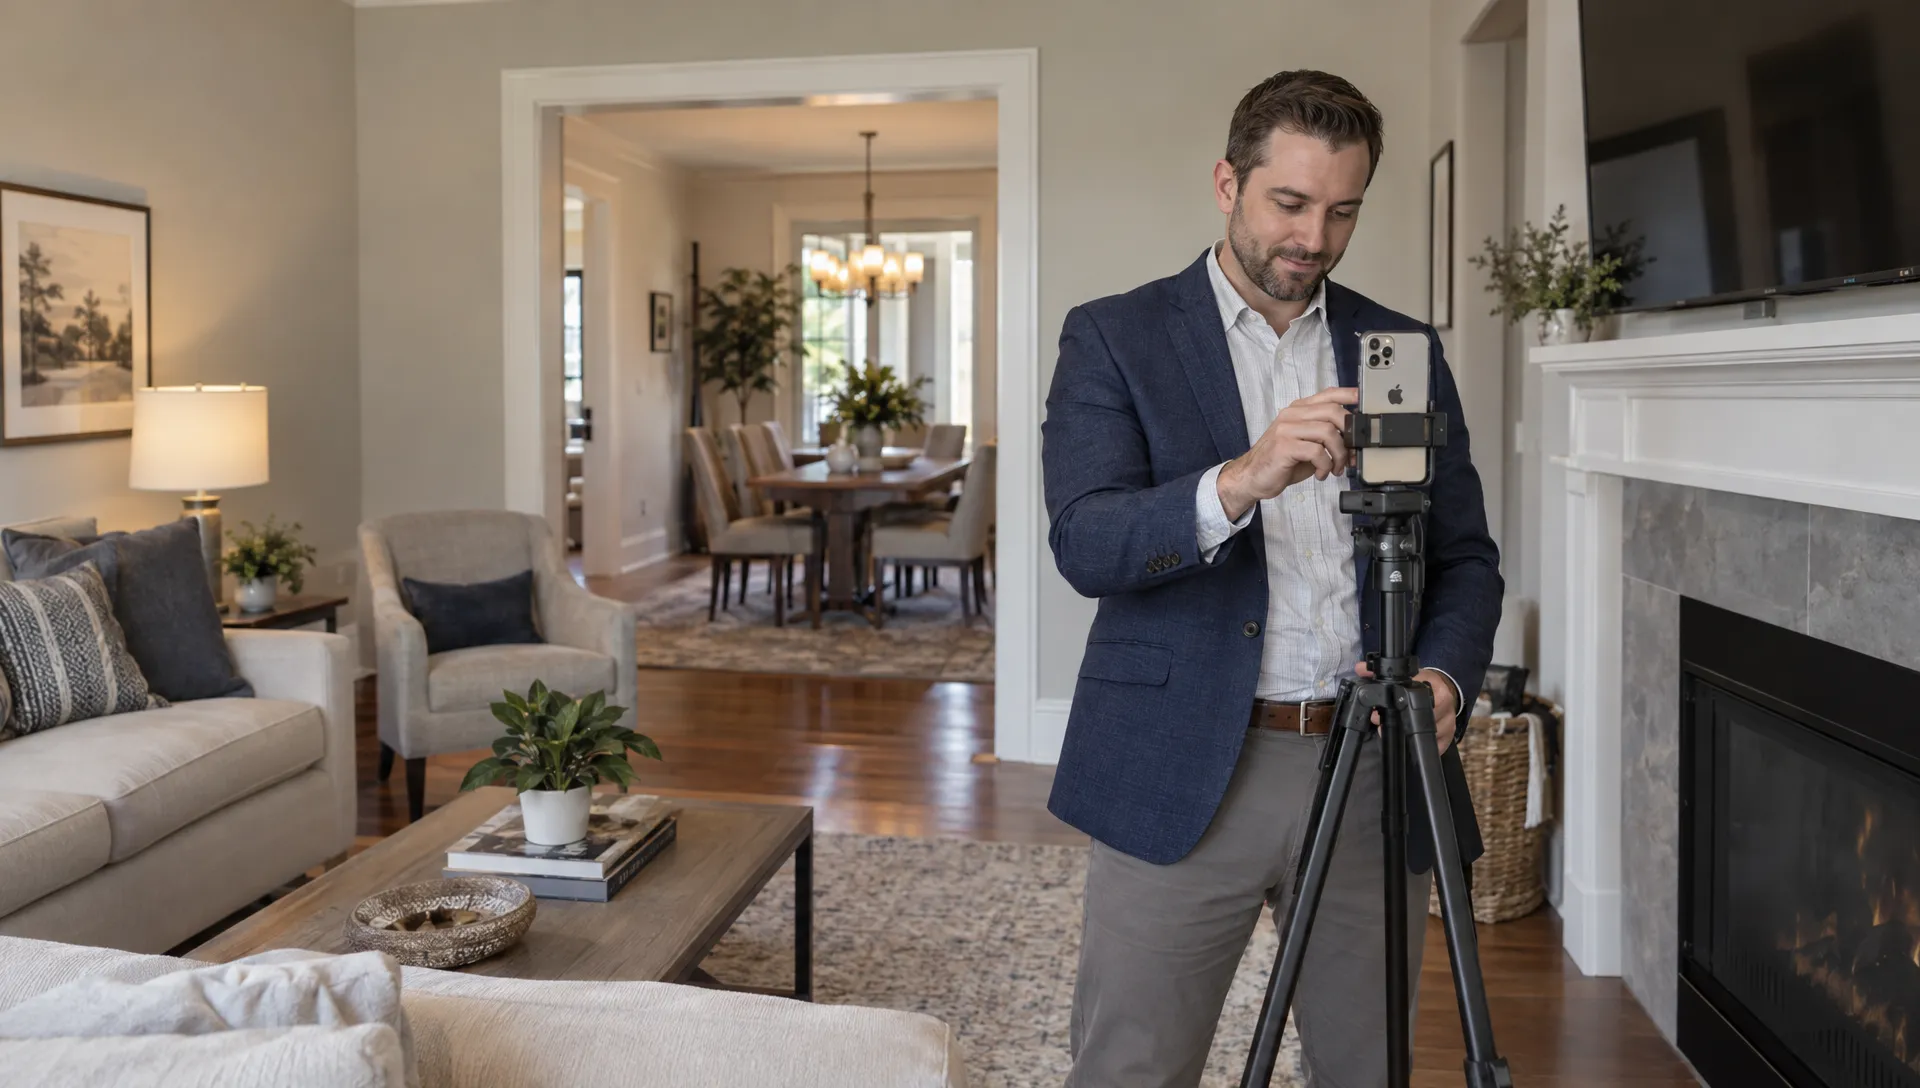
Edit for accuracy, then check the exported files
Choose images for clarity before editing them. A slightly less dramatic photograph may explain the property better than an impressive ultra-wide shot.
In the Photos app or another editor, begin with modest exposure and white-balance adjustments. Then straighten the image and correct vertical perspective if necessary. Perspective corrections crop the frame, so strong corrections can remove useful details or reduce usable resolution.
Avoid extreme shadow recovery, heavy sharpening and excessive saturation. White walls should not become gray, orange or blue, and timber finishes should resemble their appearance at the property.
Good editing is part of knowing how to take real estate photos with iPhone, but it cannot reliably rescue missed focus, motion blur or completely clipped highlights. Inspect those problems before leaving the property so you can reshoot.
Keep edits transparent
Do not erase damp patches, cracks, permanent equipment or an unattractive view. Be transparent with buyers about material retouching and clearly label virtual staging according to your local rules and the destination portal’s requirements. Keep the original photographs available.
Before uploading, check each listing portal’s accepted formats, minimum dimensions, file-size limits and cropping behavior. An iPhone may capture HEIF files, while your destination may require JPEG. Export a compatible copy rather than taking a screenshot.
Transfer originals or full-resolution exports. Messaging apps can compress images, so inspect the actual files you intend to publish. Finally, check sharpness at full size and preview the gallery on a phone. Our guide to ordering property listing photos explains how to turn that selection into a coherent walkthrough.
Know when a professional photographer is the better choice
Knowing how to take real estate photos with iPhone also means recognizing when the phone is the limiting factor. A straightforward, well-lit apartment is a different assignment from a dark house with large windows and a valuable panoramic view.
Consider professional photography when the property needs controlled lighting, accurate exposure blending, difficult architectural correction or a coordinated twilight shoot. It is also worth considering when the listing’s positioning demands consistently polished photography across every room.
Time matters too. Compare the cost of professional work with the time you would spend traveling back to replace weak images, learning complex edits and delaying publication.
You can still use the phone for supplementary details, progress updates or social content. It does not need to replace every part of a professional shoot to be useful.
Frequently asked questions
Which iPhone lens is best for real estate photos? Start with the 1× main camera. Use the 0.5× ultra-wide camera only when necessary and check that it has not exaggerated the space or stretched fixtures near the frame edges.
Should all the lights be on? Not automatically. Test daylight first, then turn lights on if they improve visibility. Mixed bulb colors can make accurate editing harder, so check connected rooms together.
Can an iPhone show the room and the view through a window? Sometimes. Automatic processing helps, but extreme contrast can exceed what the camera can capture cleanly. Change the timing or angle, or commission professional exposure blending when the view is essential.
Is a tripod necessary? It is not essential for every bright room, but it makes consistent framing easier and reduces movement in darker spaces. Use a secure clamp and a timer, then inspect the result for blur.
Put the finished photos to work
Once the photographs are accurate and consistent, Diane can turn listing photos and property details into narrated real estate videos, with options including AI avatar presentation and social media formats. Use the same clear room sequence as your gallery and review the finished video before publishing. Video should help buyers understand the property, not disguise weaknesses in the source images.